
MERMADE HAIR CURLER REVIEW
I was after the undone, messy waves of a Season Two Carrie Bradshaw… but did I get an electrostatic Hermione Granger?
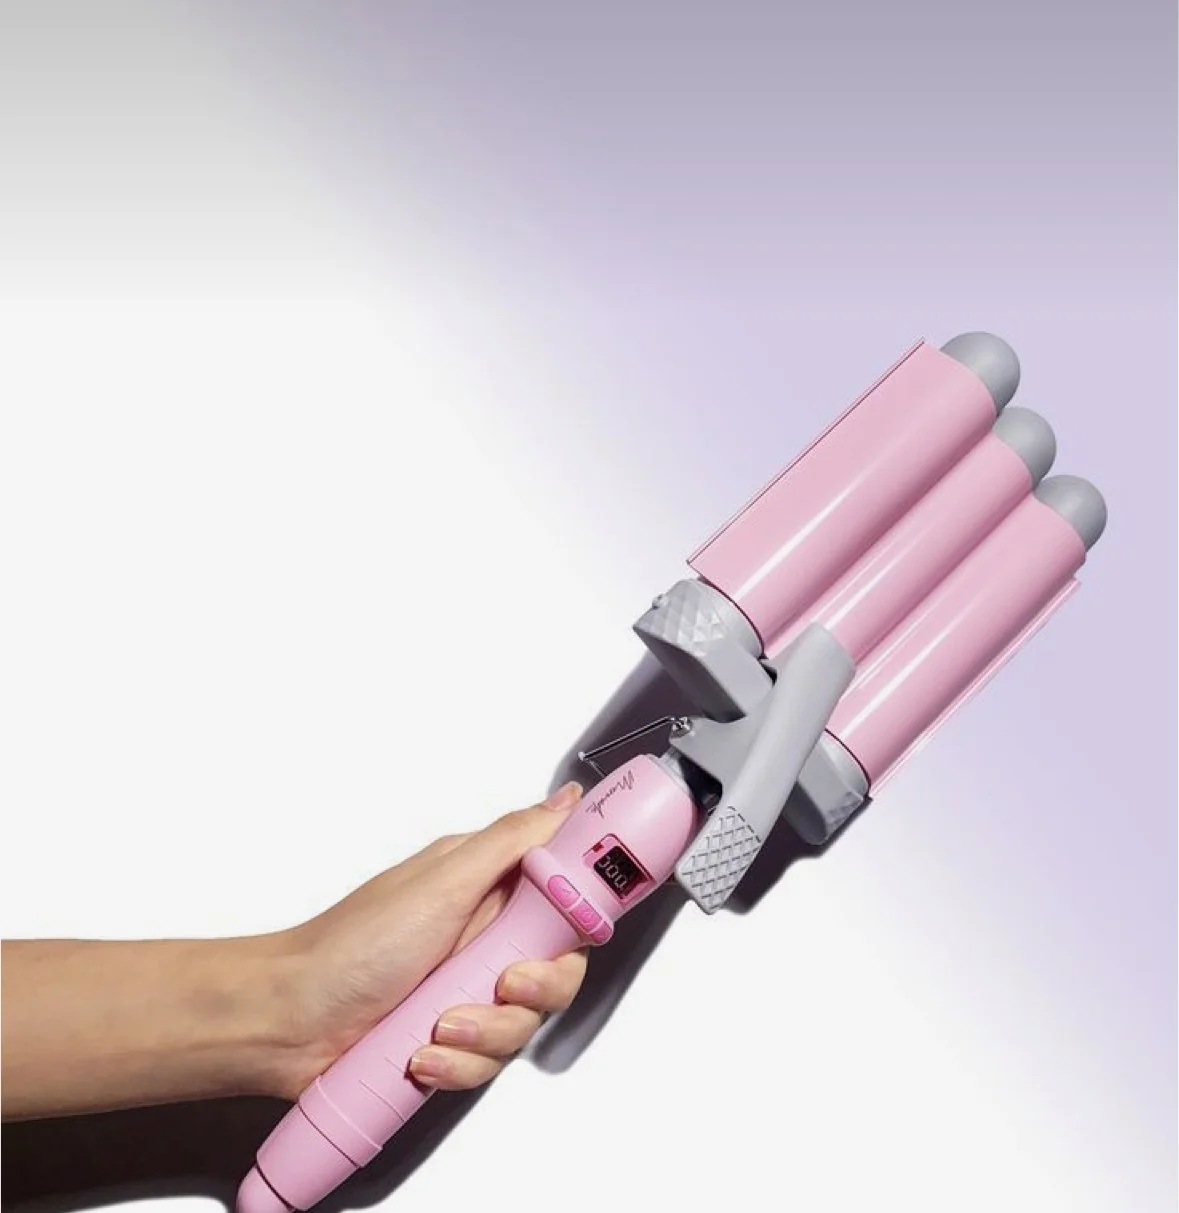
I put Mermade’s cult 32mm Original Pro Waver to the test…
Loose, soft waves with a “lived‑in” finish — the catwalk trend to replicate now
The key hairstyling trend for Spring/Summer 26? Hair that’s intentionally undone — polished, yet never overworked. Cast your eye over the catwalks of fashion month — from Dior and Chloe, to Simone Rocha — designers were all about the following aesthetic language:
Hair that embraces imperfection, celebrating natural texture and spontaneous movement.
Romanticism revival — designers are leaning into 70s influences, refreshed with a modern sensibility.
Soft waves, subtle bends and a piece-y texture, rather than uniform, rigid or severe ringlets.
The “perfectly undone” aesthetic — hair that’s wild, relaxed and messy (in a controlled way).
Achieving that “just-woke-up” effortless look is challenging, deceptively so. It often requires huge skill, not to mention hours of backstage prep time — think hair oils, salt sprays, texturising shampoos, hair clips to set the shape, combs, wands and curling irons. But Mermade’s cult 32mm Original Pro Waver is one way to cheat the look…

SS26 at Simkhai, Simone Rocha, Sportmax, Dior
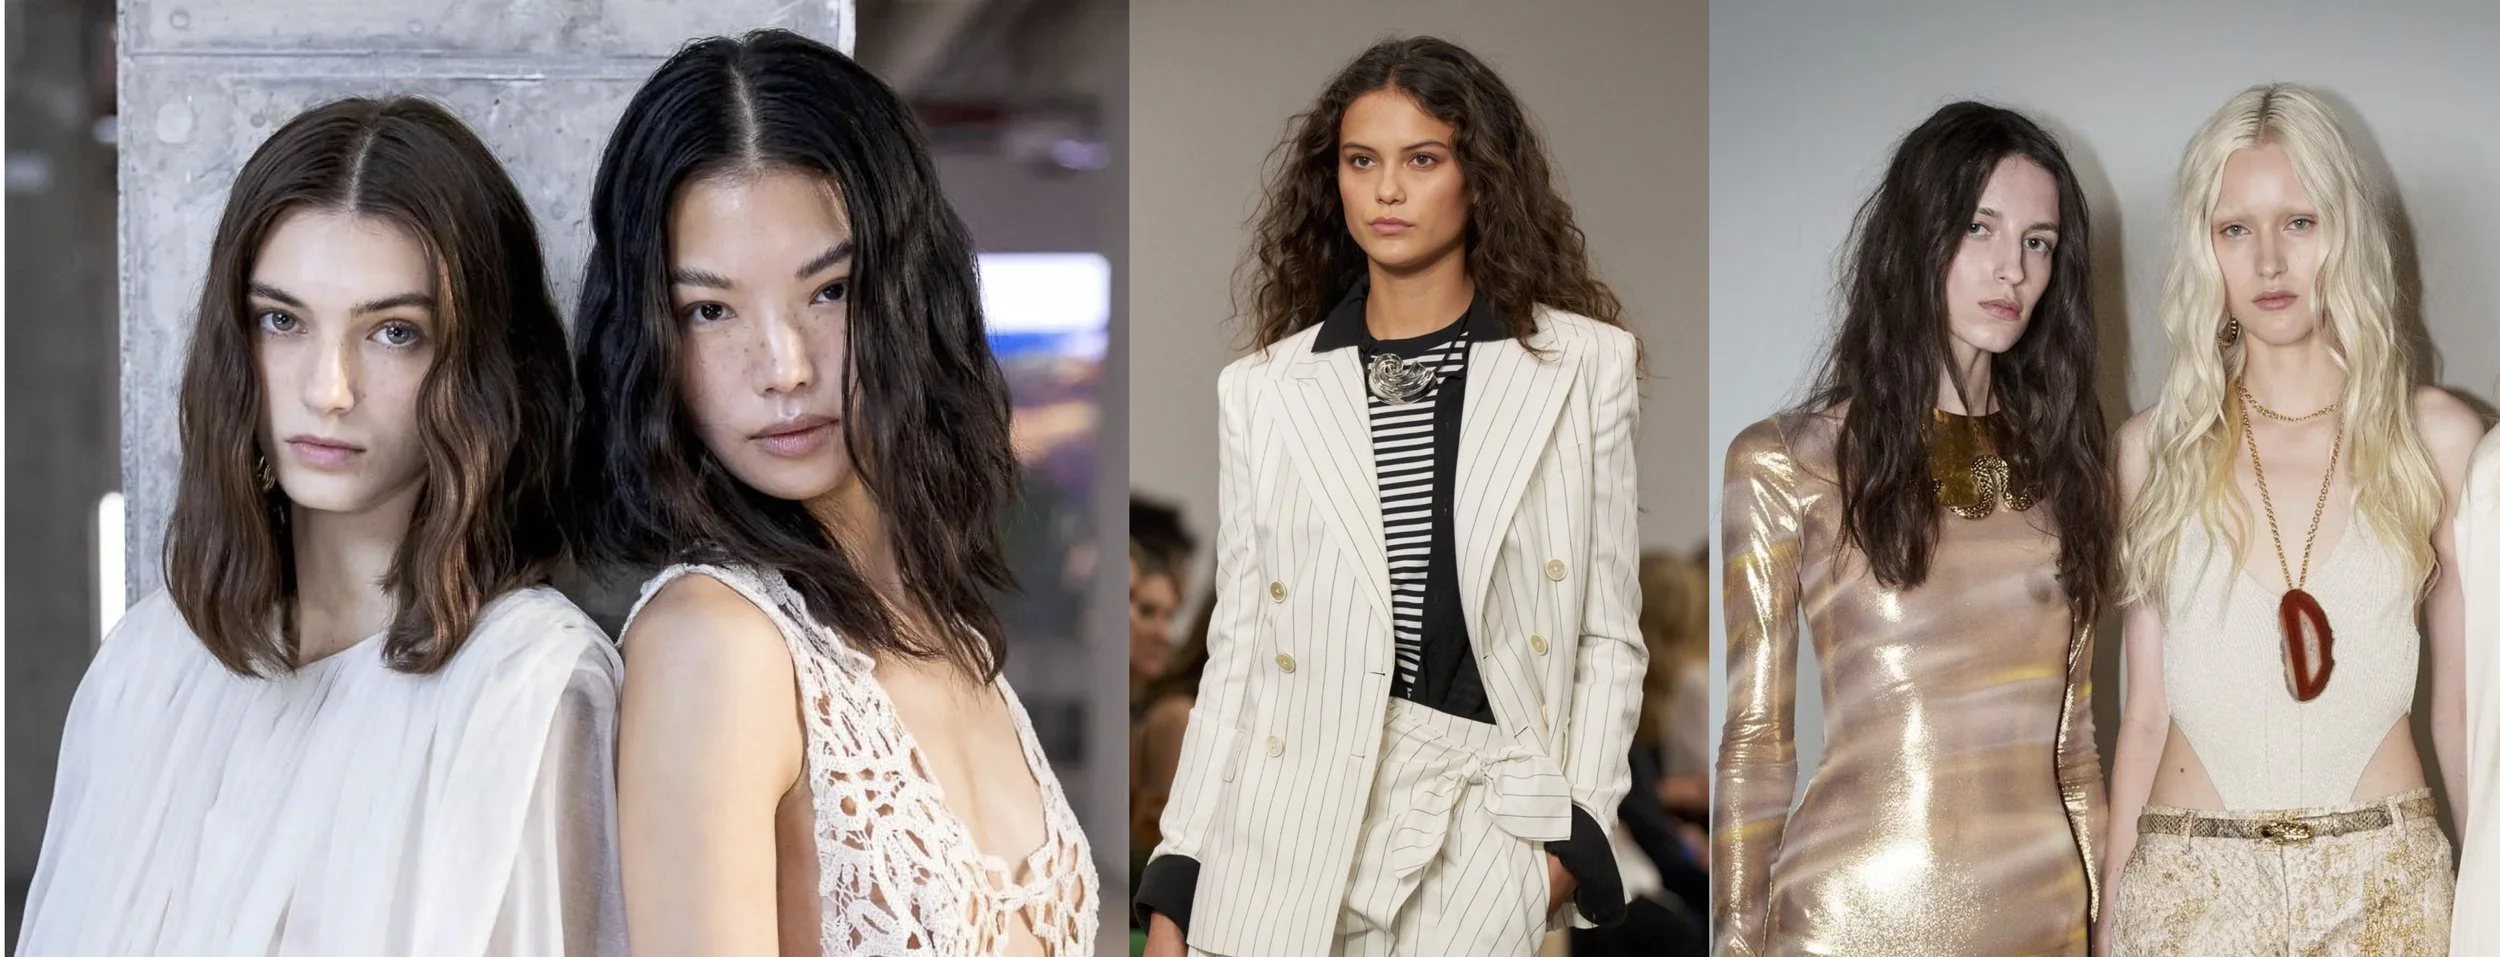
SS26 at Bronx and Banco, Ralph Lauren and Roberto Cavalli
Everything you need to know about Mermade’s 32mm Original Pro Waver:
The concept:
Unlike a traditional curling wand, where you wrap each strand of hair around a single barrel, the Mermade Waver works more like an old-school crimper. Instead of twisting or rotating the tool, you simply clamp sections of hair between all three barrels, stamping the wave pattern directly onto the hair.
The triple‑barrel design creates big, bouncy, soft waves.
Styles hair 50% faster than other wavers on the market.
Compared to single-barrel curling wands, it’s designed to deliver large, even waves quickly and with less effort.
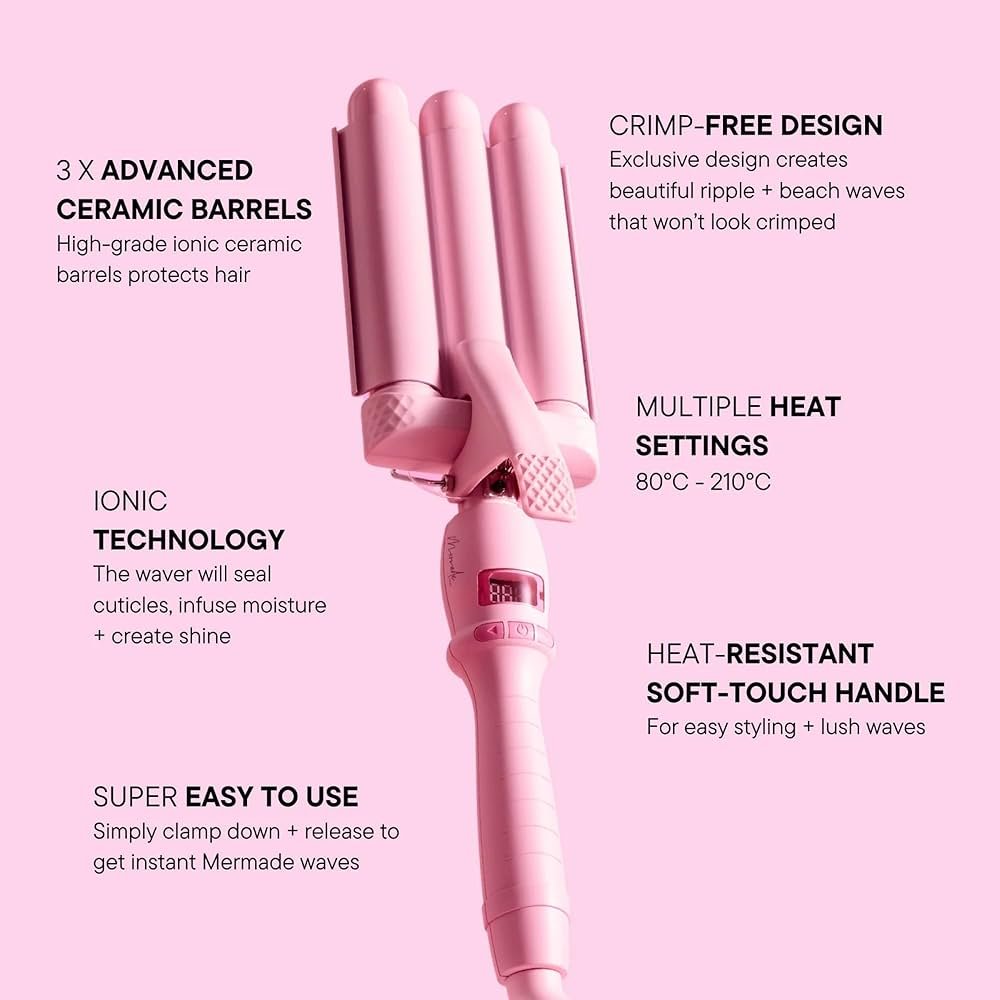
The barrels are made of ionic ceramic to help reduce frizz, seal hair cuticles and add shine.
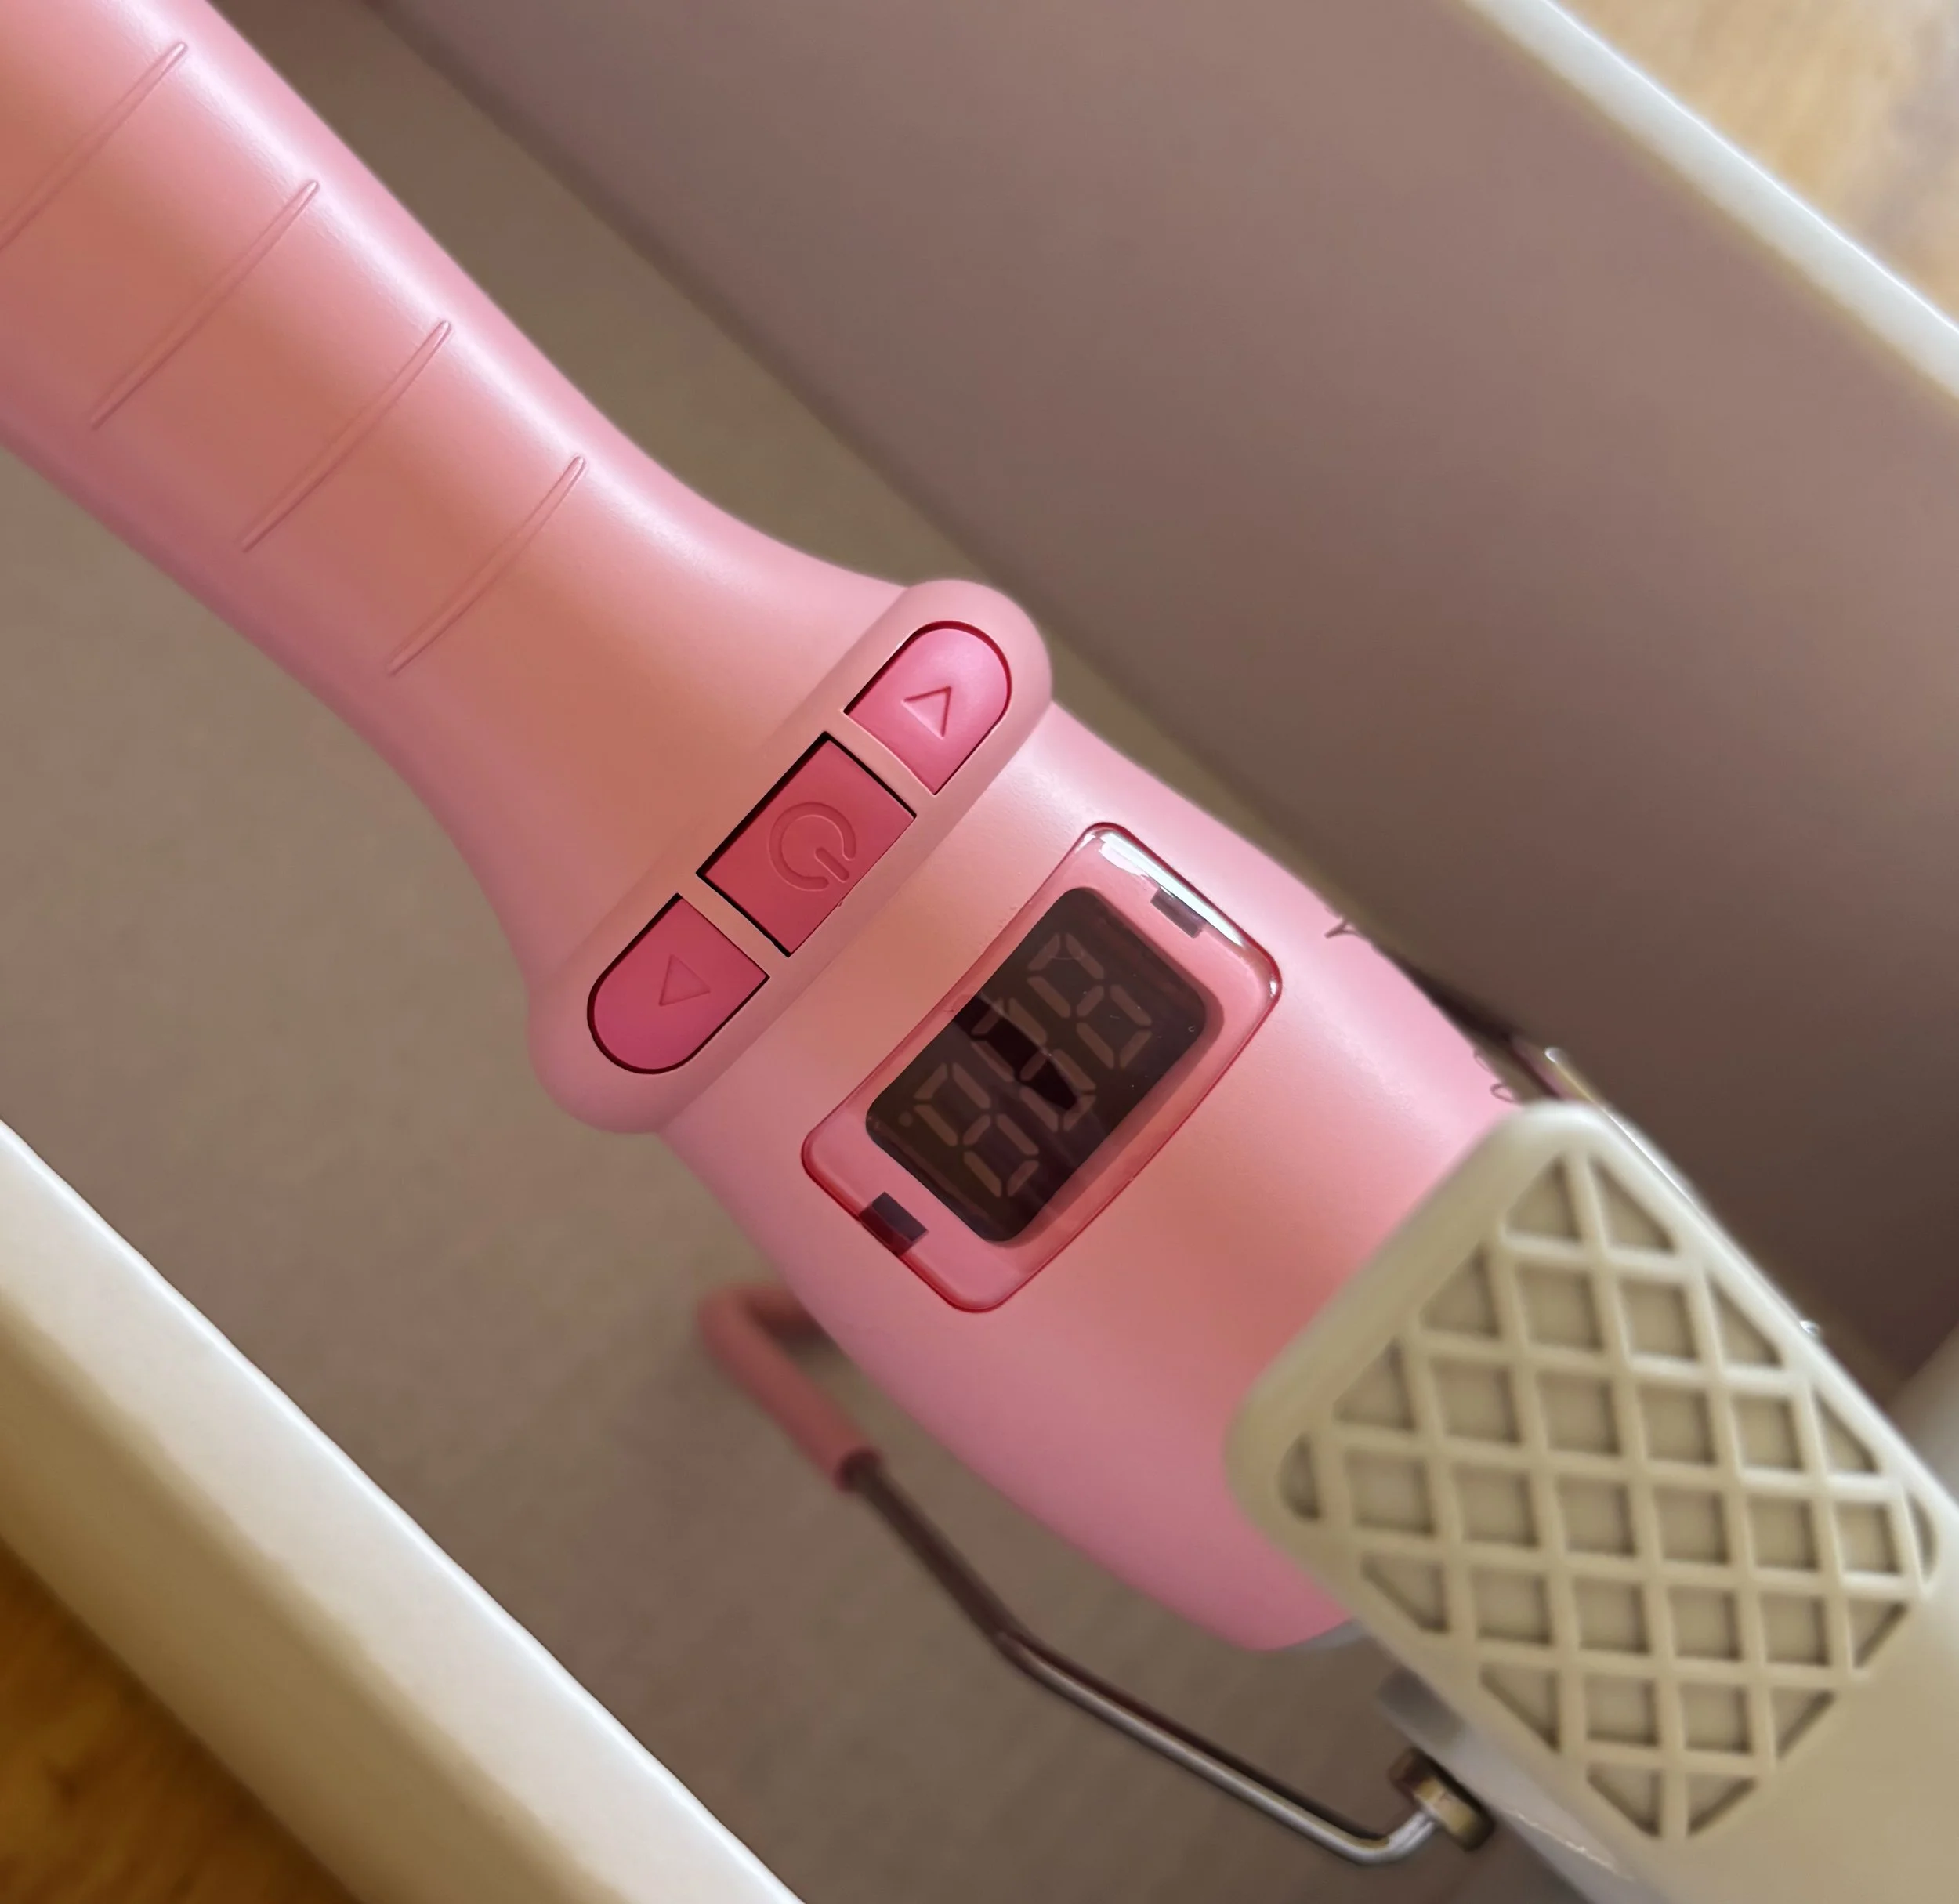
It has multiple heat settings to suit different hair types (180°C is the default).
An auto-shut off feature kicks in after 60 minutes for safety.
Includes a heat protection glove (essential!)
How long do the curls last? It holds the curl for 2-4 days (note: the length of time a curl holds will depend heavily on hair type, texture, porosity, weather/humidity, product use and how well you “set” the wave after styling)
Price: £69
Alternative tools on the market: ghd Wave Triple Barrel Waver, Beauty Works Waver, Amika High Tide Deep Waver
How do I use the Mermade’s 32mm Original Pro Waver?
Start with dry hair — the waver is a heated tool, so do not use it on damp hair or you will sizzle.
Apply a heat protectant spray.
Choose your temperature depending on your hair type:
Fine or damaged hair: Low to medium heat (around 180°C)
Normal to thick hair: Medium to high heat (I’d recommend 180°C)
Wait for it to fully heat up (it takes around 60 seconds).
Divide your hair into layers and sections using clips.
Take a section of hair and place it between the barrels, close to the roots (but not touching the scalp).
Clamp for 3–5 seconds to create a wave.
Release and move the waver down the length of hair. Try to line up the last wave bump with the first barrel, so the wave looks continuous.
Repeat until all the sections are styled.
Let hair fully cool down before touching it, so the wave “sets.”
Finish with a spray for hold and to add longevity.
Styling tips:
Break up patterns
After curling, gently finger‑comb or rake through your hair with a wide tooth-comb to separate the perfect “S” shapes and create more irregularity.
Use texture sprays, not stiff hairsprays
To get that lived‑in, slightly gritty feel that dominates the catwalksAdd a gloss or weightless serum
If you’re going for a wet‑look, a tiny dab of shine serum can add some drama.Avoid curling the hair strands at the end, leave a tiny section untouched
This is a truth universally acknowledged - it gives a more carefree, beachy look.
The Verdict:
Disclaimer, this is my personal opinion — these observations will vary depending on your hair texture, length and volume.
So did I achieve that coveted undone, yet polished hair? Here are a few conclusions I’ve drawn:
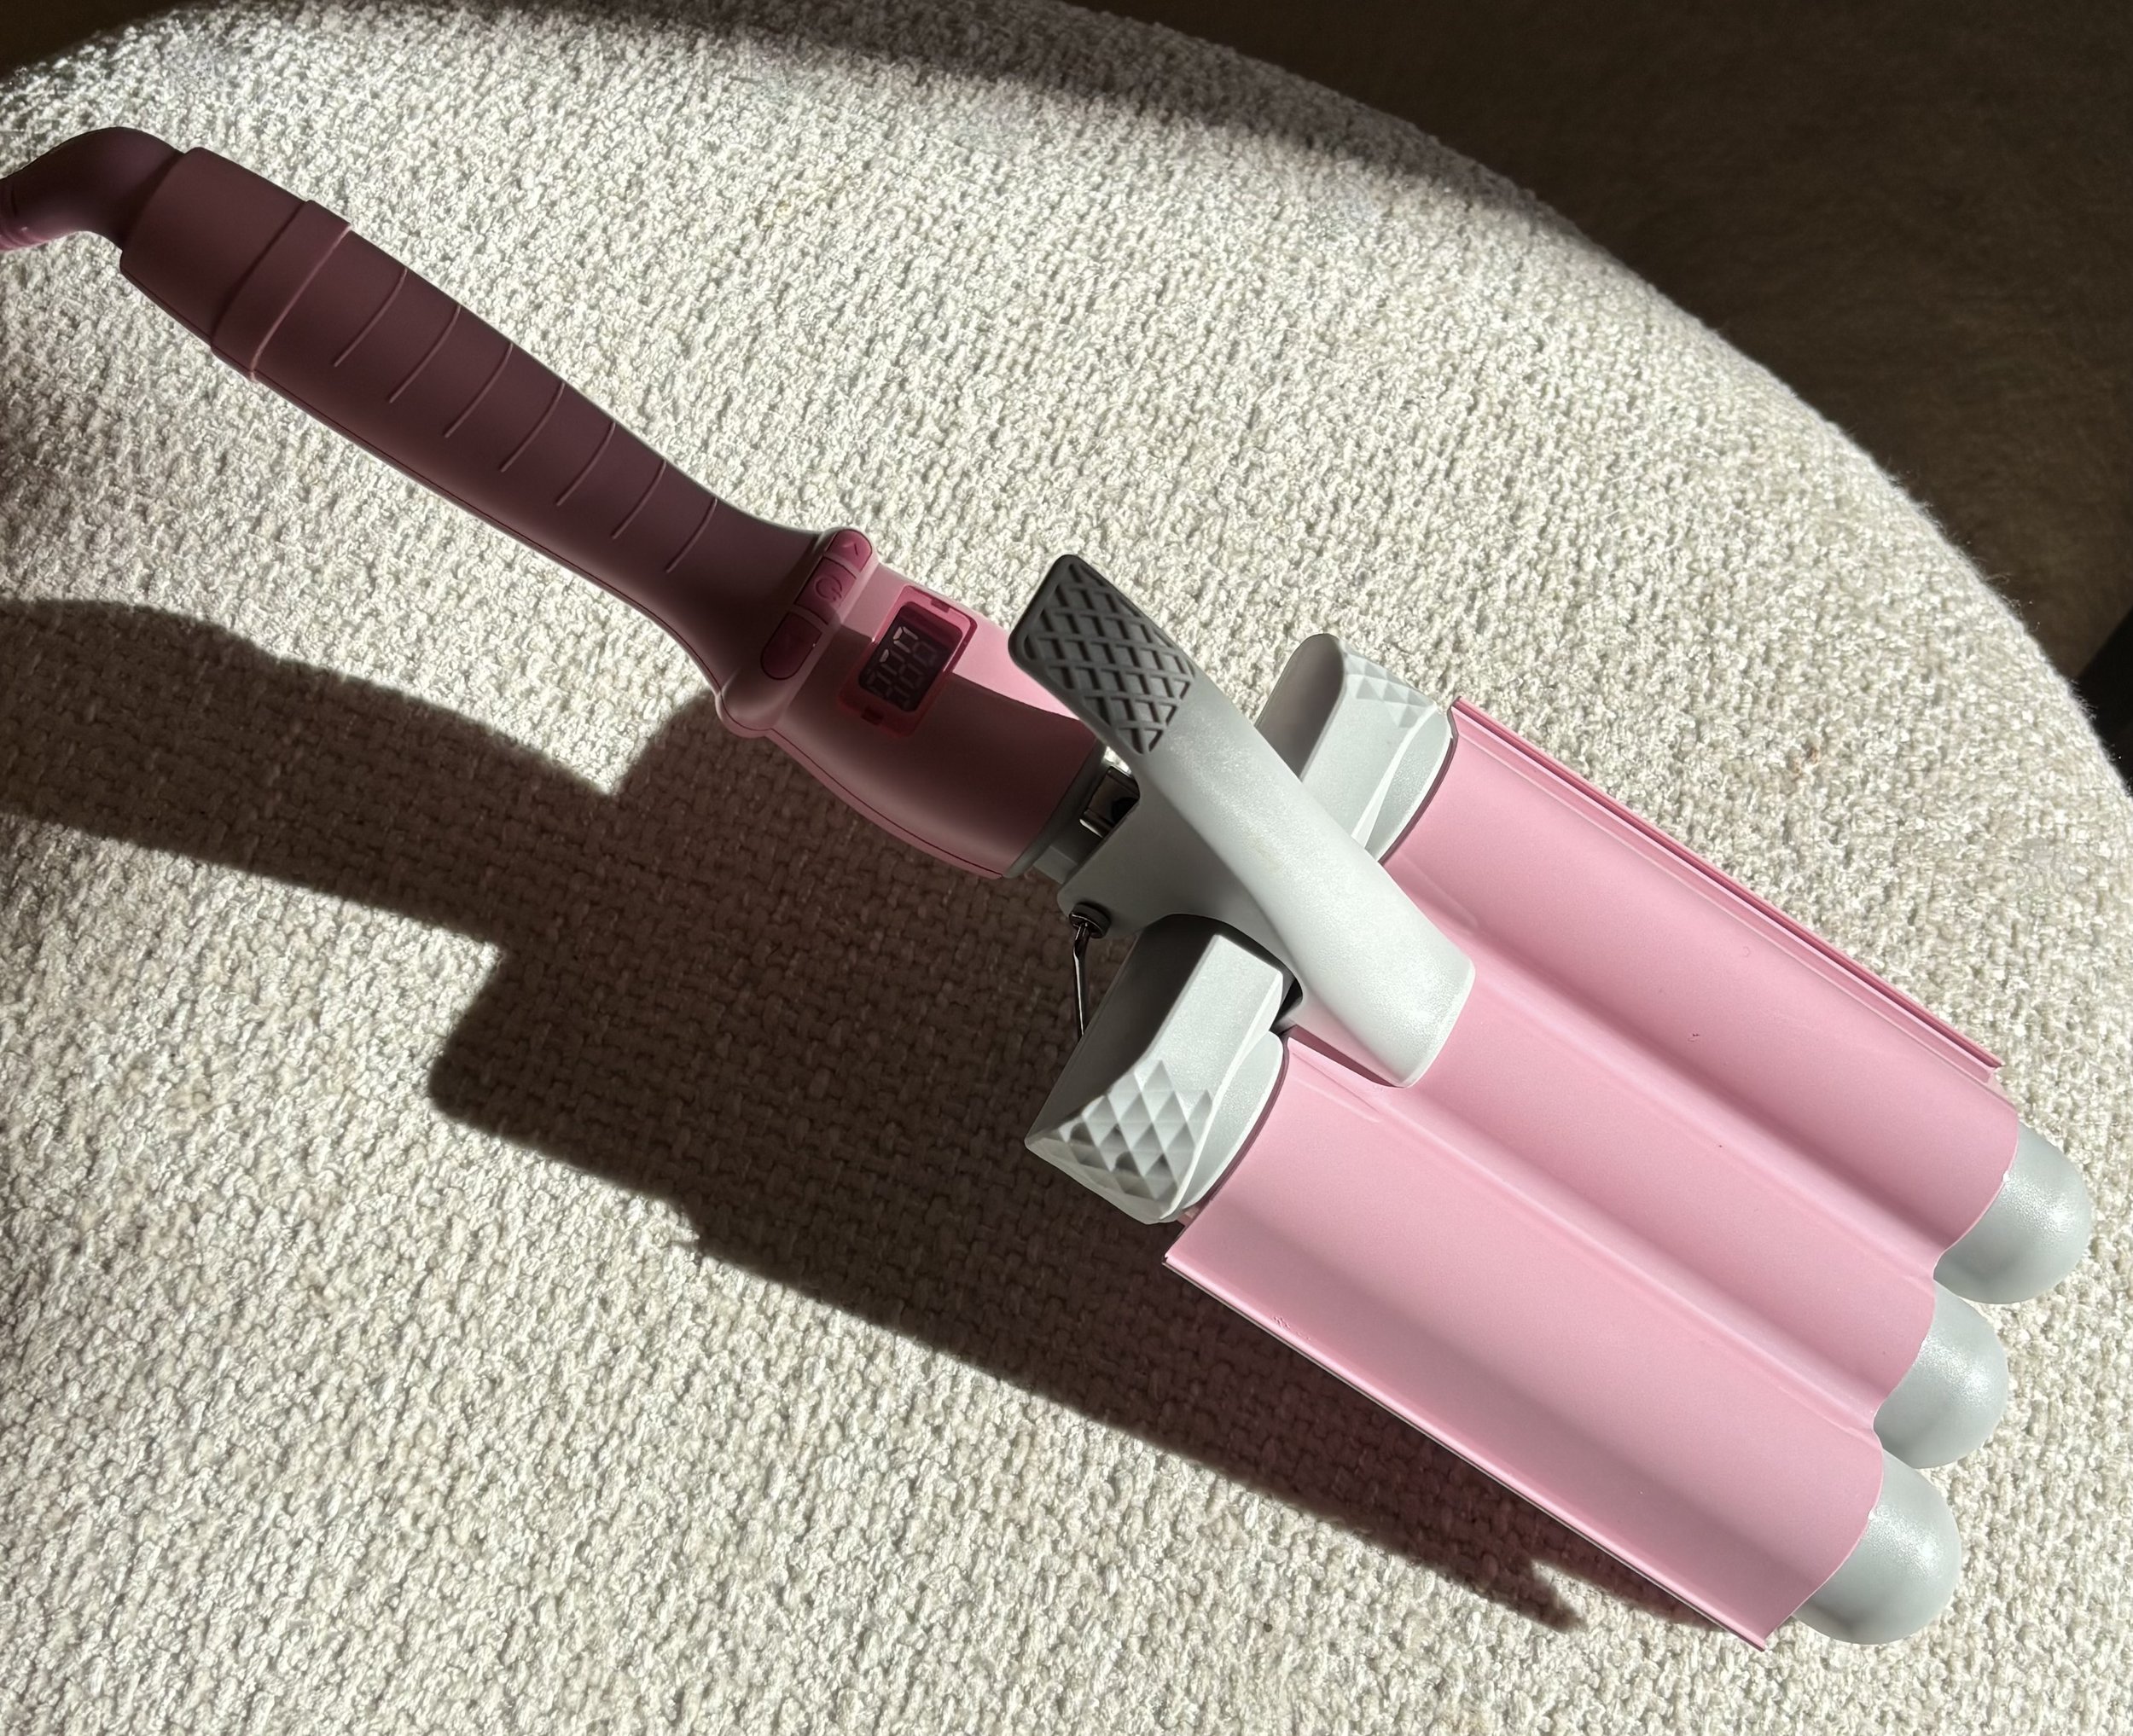
The barrels are very wide in circumference (and there’s three of them! a throuple) so you can style thick sections of hair at top speed. We’re talking 5 minutes, compared to the Dyson Airwrap which would take northwards of 20 minutes.
The tool itself is extremely weighty and quite unwieldy to hold, especially when it’s red hot.
This particular 32mm model won’t be optimal for hair that is shorter — a bob for example. The barrels are too wide.
I agree the waves last 2‑4 days, especially when using a finishing product like hairspray. But they are nowhere near as defined as when you first create the curl. However, due to the sheer speed of the curling process, you could easily go over a few sections to give more definition and a refresh, as required.
To get the wave pattern just right (lining up each clamp so the “S” waves are smooth, avoiding indentations) takes practice.
If you have shorter layers of hair framing your face, you need to adapt your process or risk looking like a poodle. Try one stamp in the middle of the hair section to give just a hint of wave.
